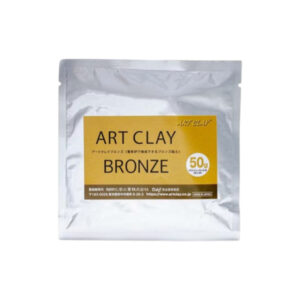
Copper clay Copper clay 50 grams (A-0300)
€ 19,95
Product number MCACC 0300
In stock
Description
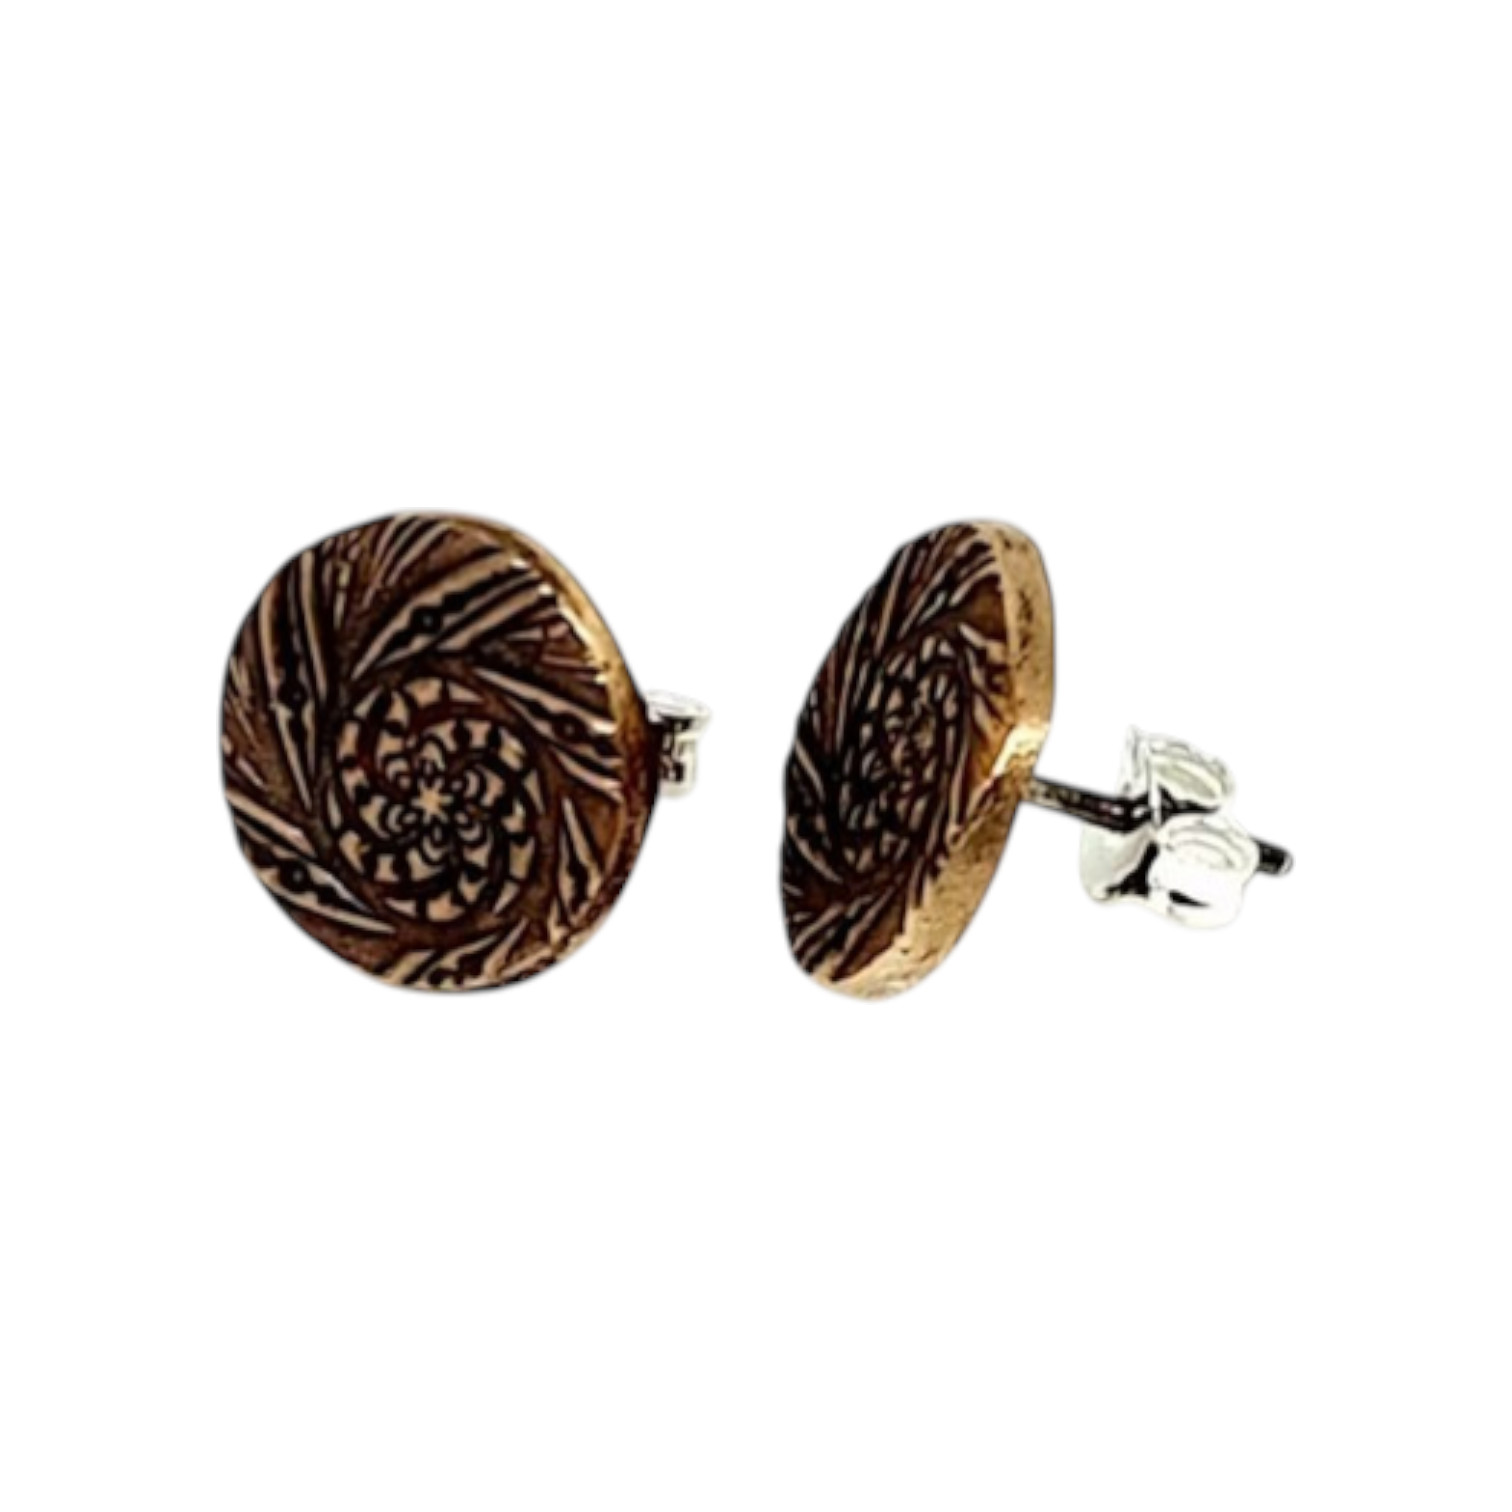
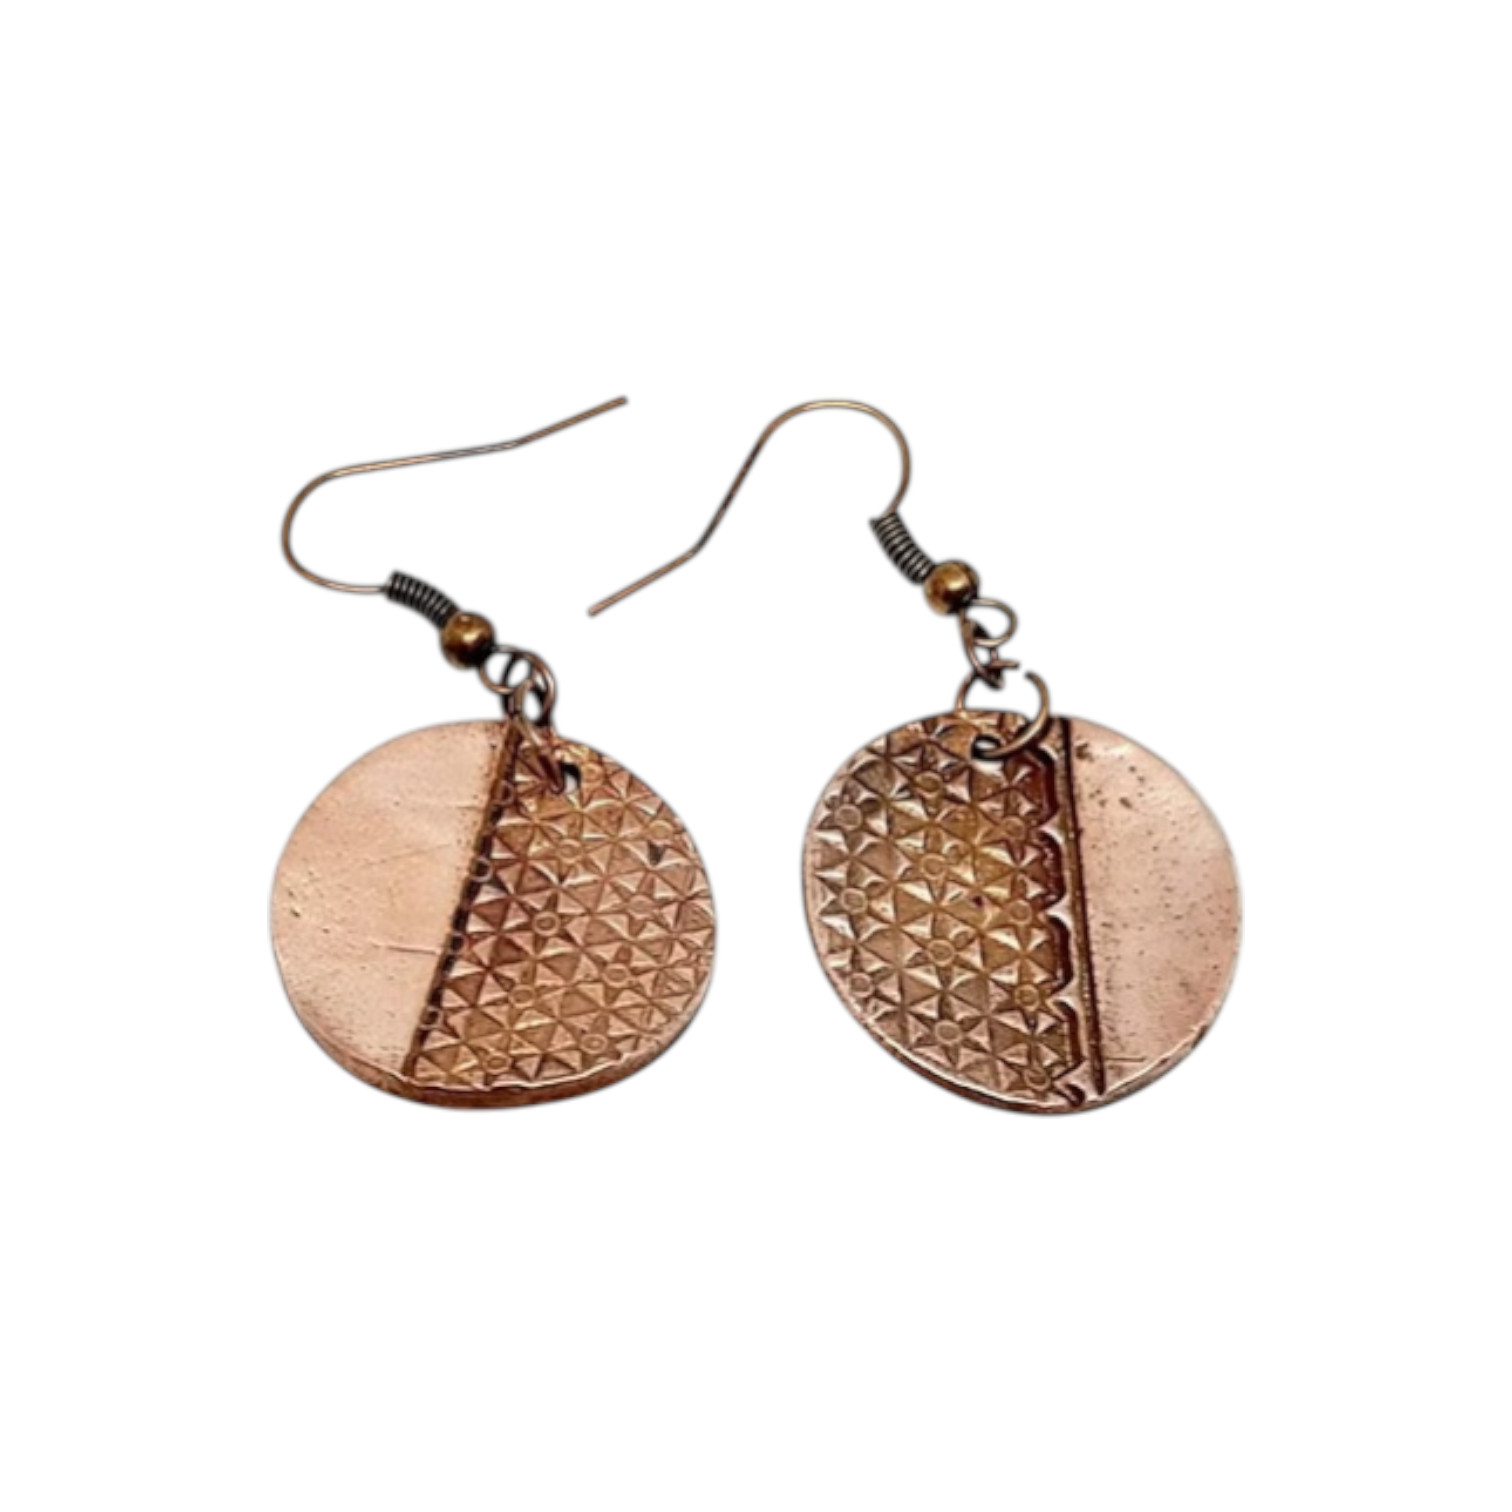
Make your own copper jewelry with Art Clay Copper!
Art Clay Copper, like Art Clay Silver, is easy to knead, model and bake off in an oven. The steps for making creations with Art Clay Copper are the same as with silver clay, however, when firing without activated carbon, an additional step must be added: treating the oxidized layer. Unlike silver clay, copper clay reacts to oxygen in the air and creates a brown-black layer on the copper clay.
The package contains 50 grams of copper clay. We recommend using a product like “Gloves in a bottle” to prevent discoloration of your hands.
The clay can also be combined with other materials
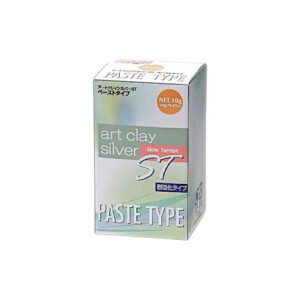
Art Clay Copper Pasta
Art Clay Pasta is not available, you can easily make it yourself.
Add a small amount of water to soft clay and knead it carefully. Use this substance to fill any cracks or settle several pieces together.
Helpful tips when using Art Clay Copper
- Copper clay should be stored airtight, cool and dark.
- In the package, Copper Clay has a shelf life of 1 year.
- Copper clay can be diluted with distilled or boiled water.
- Always put leftovers back in the original container or grip bag immediately.
- Copper clay dries by air and dries fairly quickly, so make sure everything is ready in advance.
- Once dry, copper clay is as hard as plaster, making it possible to scratch or file patterns into it.
- If it is dry and it breaks, you can repair a copper clay ornament with paste.
- It is important to note that clay cannot withstand frost.
Making larger objects with copper clay
- Make use of a cork clay for a core, which is also recommended for making a large (thick) piece.
- Through extensive testing with large-sized Art Clay Copper pieces, we found the possibility of small hollow holes appearing after drying, in special cases when it is formed with more than 10mm thickness.
- If a hollow gap appears in the piece after drying, fill the gap with the soft copper clay and then bake again after drying and before finishing.
This hollow gap is less likely to be made by drying with a heating equipment such as a hot stove, an oven or a hot air dryer.
So if you make a piece inside 10mm thick, dry it with hot tools, the chance inside of hollow holes is then extremely small. - The length of drying time varies by the size and design of the piece, so be sure to check carefully to make sure the piece is dry. If it is dry, then you can finish baking the piece.
Using Art Clay Copper
Art Clay Copper and Art Clay Silver have different properties that can affect each other when they come into contact. We recommend using separate tools for each type of clay. If this is not possible, make sure the tools are thoroughly cleaned after each use.
Storing Art Clay Copper
Use the copper clay as soon as possible after opening the package. After opening the package, the surface of the copper clay will oxidize and become darker in color.
If you see a dark discoloration, scrape this part away and use the remaining clay to make a workpiece.
To prevent oxidation of opened packages of copper clay, it is recommended that you wrap the clay in several layers of plastic and then use a plastic sealing bag that can be completely vacuumed.
Because of the chemical nature of copper, Art Clay copper created that there is an oxidized layer on the clay surface from exposure to oxygen. First and most important education, is to wrap the leftover or leftover clay again, a plastic food wrap is useful for that. Wrap the clay with no air between the wrap and press on the clay with a roller so that it stays in place.
Want to get started with Art Clay Copper yourself?
Then we recommend you first take a workshop with a certified Art Clay Silver
instructor level 2. Here you will learn to work properly with the copper clay and apply the tools correctly. Moreover, it is incredibly fun!