UV LED resin or UV resin.
UV LED resin is our #1 choice when it comes to making and incorporating into jewelry.
UV LED Resin is especially suitable for smaller jobs such as jewelry.
UV LED Resin is harder, brighter, dries faster, color true and has less shrinkage compared to regular UV resin.
UV LED resin is suitable for.
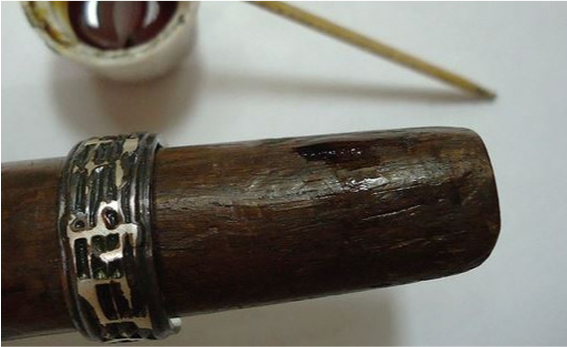
- Giving a protective layer/coating to various substrates such as polymer clay, wood etc.
- Incorporating ashes, hair, flowers, photos, etc. into jewelry.
UV LED resin curing.
Curing can be done by
- UV LED lamp
- UV lamp
- Sunlight
Curing time.
Curing time varies by light source and intensity of light source. Sunlight takes the longest. UV LED lamp is fastest and cures in minutes.
(UV resin and UV LED resin are not comparable to 2 component epoxy resin in terms of performance. 2 component epoxy resin has a much longer drying time, up to 72 hours, is not suitable for drying with the UV LED lamp, yellows faster and shrinks more)
TIP: Hanging a piece of aluminum foil in front of the opening of the lamp will speed up the drying time.
How do you avoid air bubbles in your UV resin or UV LED resin?
Do not shake the bottle.
Air bubbles can be removed with the flame of a lighter by heating the UV LED resin with the flame. The heat makes the resin slightly more fluid. Go up and down with the flame just above the resin to heat the resin so that all bubbles disappear. This technique is suitable for both coating layers and resin poured into molds.
Molds
UV LED resin can also be used in silicone molds.
Keep your silicone molds clean easily with a little soap and water. Use a little detergent and warm water before each use to clean your molds. Silicone can withstand temperatures up to 250°C, so you don’t have to worry about the mold deforming during cleaning.
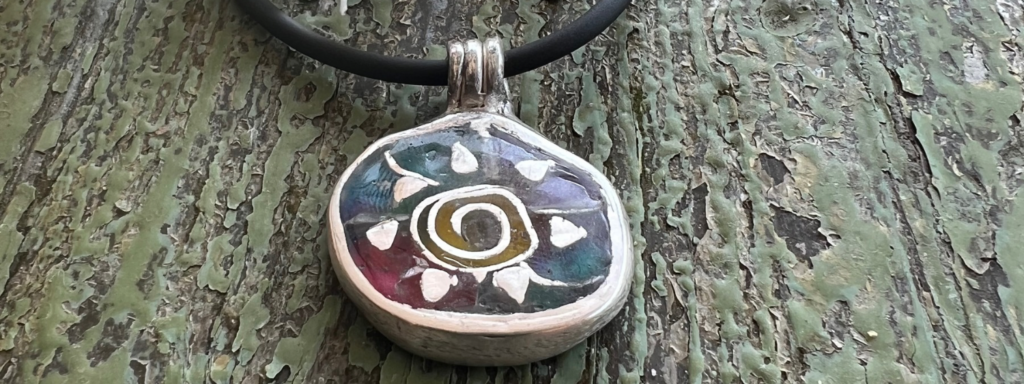
Colors
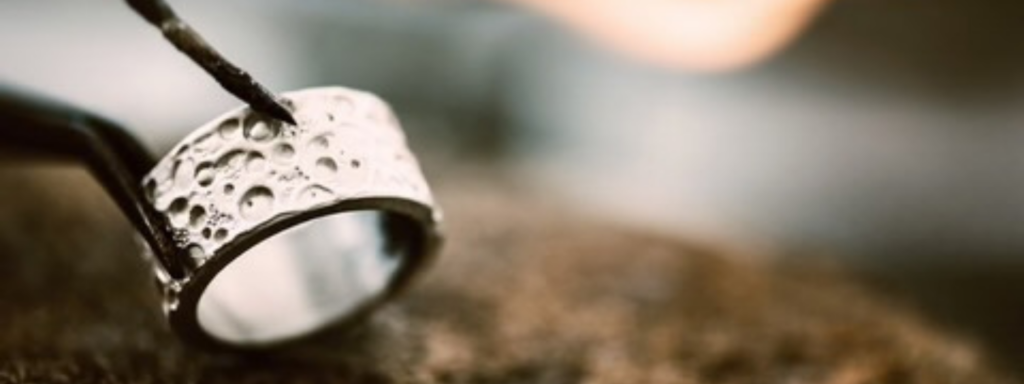
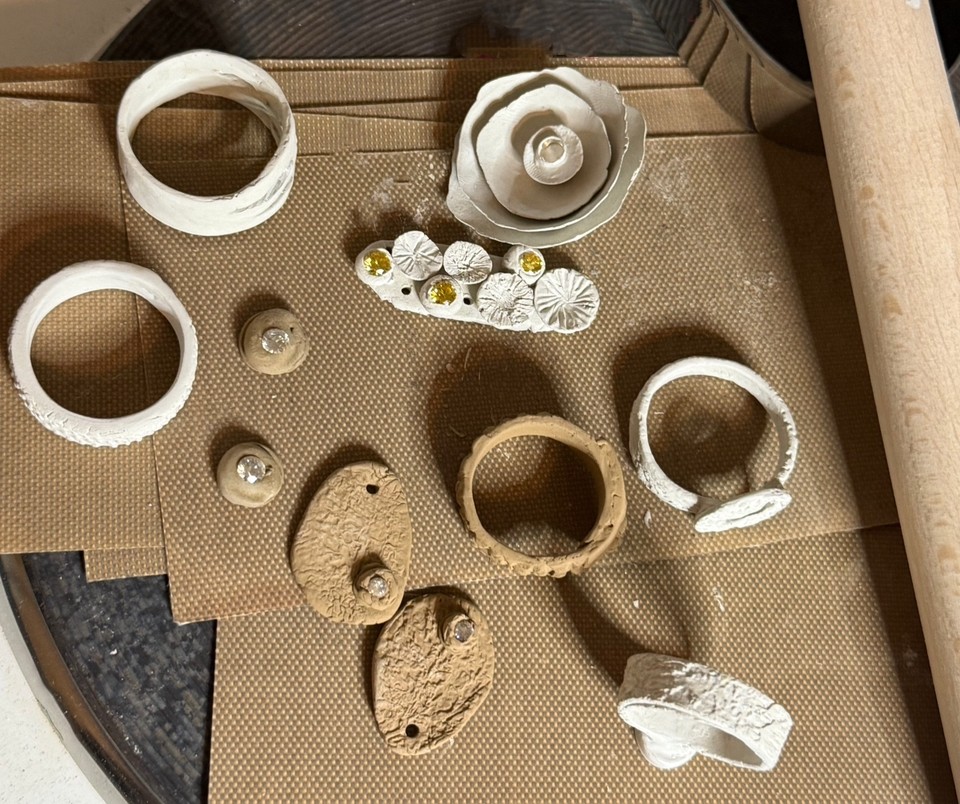
UV LED resin is also great for adding color accents to metal clay jewelry.
There are special pigments for sale for UV LED HARS.
Mix a little pigment through clear resin. Start with a layer of colored resin and finish with 1 or more layers of clear resin.
Finish
Pour in 2 or more layers. Thin layers make drying easier.
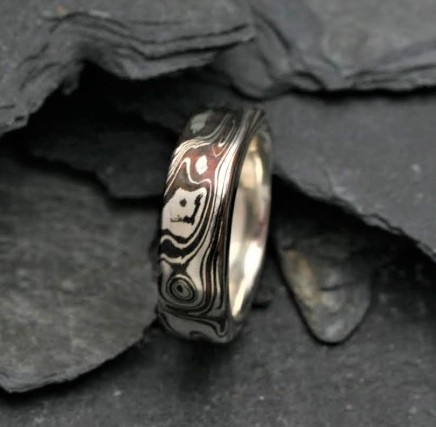
If you want to incorporate hair, ashes, flowers or something similar into the UV LED resin, put these items into the bottom layer of the resin. Dry it and finish with a layer or layers of clear resin. Often sanding is then not necessary. The final clear coat provides a smooth glossy finish.
Sanding and filing.
If it is still necessary to sand or file. Then use sandpaper suitable for wet use and sand from coarse to fine.
When working UV LED resin into silver clay, it is sometimes necessary to file in order to make the surface of the resin flush with the surface of the silver ( or other metal clay).
Polishing
Polishing can be done with polishing paste for plastics